In this article, we’ll provide you quick and effective ways to have the right setup, tools, techniques to increase your effectiveness with students, parents, and administrators. For administrators, we will also provide tips for building momentum with your team that simply isn’t achievable in traditional, face-to-face encounters. Shockingly, you will learn how to become MORE productive than when you were in the classroom! The following are excerpts from our recently released video course, “Teaching 2.0 From Home”
Your Home Office Setup:
An optimized home office setup does not have to break the bank but does require intentional enhancement. Make sure your audio is clear, your video is eye-level, and your background is suitable for the viewer.
- Audio– Always prioritize the quality of your audio over the quality of your video. While this may seem counterintuitive, students (or parents) must be able to hear you clearly and naturally to absorb your messages in much the same way as an in-person meeting. Use a good quality condenser microphone over the inferior microphone built into your laptop. If your home office may include noise distractions (dog barking, noisy children, etc.), upgrade your audio to a noise-canceling digital microphone/headset.
- Video – People need to see you! Yes, that means you have to dress appropriately and make sure there is no spinach in your teeth! Laptop video cameras are typically, at best, average quality only made worse by an unflattering camera angle! If you must use your laptop camera, raise the height of your laptop to as close as eye-level as possible. Better yet, use an external camera like a Logitech C920S for $70 or upgrade to a Logitech Brio for $199. Going external with your camera also lets you mount it on a height-adjustable stand.
- What’s behind you? – This crucial element of virtual teaching is often ignored but critically important. Here’s a simple test. Open the camera application on your laptop (Windows it’s called “Camera” and a Mac. It’s called “Photo Booth.”) Now, what do you see? If it is any part of the ceiling or a window, change your camera angle. Consider some quick room rearranging. What you want is a calm, neutral background. Bookshelves, room dividers, plants, personal pictures are all great! Remember, your audience can’t see what isn’t in the shot. So feel free to move clutter just out of the frame if you’re not ready for a more significant office project. Wayfair.com offers a room dividing screen that hides all your clutter by placing it directly behind you for as little as $59.
Using Tools:
Tools abound when it comes to working from home and using web meetings. Some are incorporated into your web tool. Addon tools can further enhance the effectiveness of your sessions.
- Know your Web Tool – Now, let’s turn our attention to your on-line web tool. If you are like most, your school district has a tool of choice. Some of the top tools include Microsoft Teams, Zoom, Webex, Blue Jeans, and GoToMeeting. Whatever flavor you have, learn how to smoothly navigate the features of the tool so you can easily chat, share an application or your screen, and direct the video. A quick search in “help” often reveals informative videos on these basic features of your tool, as does YouTube.com. For example, the chat feature of a tool drives student engagement. When you initiate the class, use chat to engage with participants as they enter the platform to model for them how you want, the more quiet-types to be “heard.”
- Private vs. Public Chat – Speaking of chat, be sure you understand the difference between a private chat and a public chat! Yikes! I’ve witnessed some incredibly embarrassing and unprofessional messages come across the meeting chat when one individual thought they were sending a private chat to a colleague only to learn that everyone on the call read it! Our advice is to never send private chats to colleagues in the same tool as the meeting. Use a different channel of instant messaging on a second screen or your mobile device.
- Sharing a Screen vs. Application– Virtual meeting tools offer at least two styles of screen-sharing. If you choose to share your “screen,” every application on that screen, including your toolbars, instant messages (e.g., “Nobody has any toilet paper!”) will be seen by everyone on the call. However, if you need to show multiple applications in the meeting (e.g., PowerPoint, Google Sheets, etc.), it makes a presentation much more manageable. Here’s a quick tip. If you share your screen, turn off all notifications. In Windows, click on the “start” button and type “presentation,” and the control panel option will appear. Select that option and set yourself to presentation mode. On a Mac, select “Do Not Disturb” in Preferences.
Techniques:
There are a variety of techniques you can use during your virtual classroom to make your lessons stick, to encourage student collaboration, and minimize student multitasking. Below are three quick tips.
- Mirror Neurons and Video – People often ask us, “Why is being on camera so important?” Mirror Neurons! In our book Rule of 24, we highlight a study by Marco Lacoboni that discussed how we use our body to communicate our intentions and feelings. For example, if you have a positive message to deliver, and you smile while delivering it, the students will sense your smile and absorb more of your positive message. Likewise, if I want to express pain, and I do so facially, the students will feel the pain. Be intentional (and careful) with your facial expressions and use video to your advantage. And remember, you make ”eye contact” with your remote audience by looking into the camera lens, not at your screen.
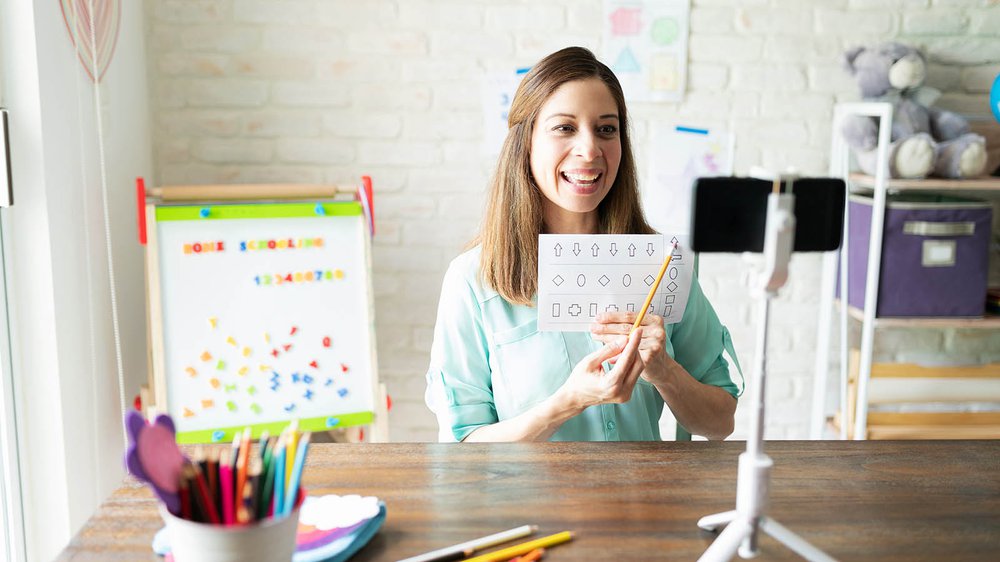
- Whiteboarding – Digital, handheld, wall-mounted. Replacing the collaboration and open-thinking that takes place with whiteboards is not without its’ challenges. There are three possible replacements to a classroom whiteboard. From simplest to more complex are a handheld whiteboard, wall-mounted whiteboard, and digital whiteboard. For many people, illustrating a thought requires a whiteboard and a marker. It is incredibly easy to purchase a small, handheld whiteboard and write on it while having it directed at your camera. “Low tech!” you say? Absolutely but, really simple and effective. The second option is a wall-mounted whiteboard, but only if you have a room that supports it close to your webcam. If you don’t want holes in your wall and the permanent look of a whiteboard in your home, use Cling On Static sheets. They are erasable and simply attach to any flat surface with static electricity. Finally, there are digital whiteboards and a large variety of them. You’ll need a touch screen or a digital pen to be effective. Some web tools have whiteboard features as well.
- Use of Student Names – Based on our global research, 74% of respondents believed multitasking of virtual meeting participants is the number one problem with web meetings. What’s worse, according to a Stanford study led by Clifford Nass and Anthony Wagner, “Multitasking is a myth.” People can’t pay attention to more than one thing at a time. First, follow the tips above to make your meeting more engaging to prevent multitasking. Second, use people’s names to get them to “task switch” from what they are paying attention to back to your meeting and critical messages. Do this by first announcing their name in a complete sentence or question. For example, “Olivia, I want to ask you a question.” When Olivia hears her name, she will immediately task-switch!
Momentum:
You may have concerns that teaching from home will disrupt the unit lesson momentum you experience with an in-person classroom. Quite the contrary! Follow these tips to accelerate your momentum further using recorded video:
- Personal Video – Setting aside web meetings, our discussion moves to asynchronous communication in the form of recorded video. Personal video is merely using a recording tool (as simple as the software built into Windows or OSX) to record a lesson preceding or following a virtual class. For example, you might flip the classroom by recording your lesson, require the students to watch the recording then, use the virtual classroom to work on exercises related to the lesson. Doing so makes better use of the time in the live-virtual class. You can also use personal video after a virtual lesson to clarify more complex concepts, introduce the next lesson, or provide homework explanations. Personal video will help give you more one-to-one time with students, more student collaboration time, help students learn at their own pace, and encourage students to come to the virtual classroom prepared.
- Authenticity over Perfection – One of the many advantages that personal video provides is the ability to re-record the video if you aren’t pleased with the result. However, don’t overthink this. It doesn’t need to be perfect and post-produced with a video editing tool. On the contrary, your students will prefer your authenticity, including pauses, as you find the right words or refer to your notes. As you become more comfortable recording video, you will find the process of recording and sending videos become second-nature.
- Teleprompting vs. Notes – If you need absolute precision in your recording, use a teleprompter. Wow, that sounds expensive! Well, it isn’t! I use a product called “Teleprompt+ 3” on my mobile device, and it is a whopping $24.99! These types of apps provide the ability to maintain eye contact with your mobile device as you read and record your video. Most of our team members have become so comfortable recording personal videos that they simply refer to a sticky-note next to their camera for the next topic.
About the author
Bob Riefstahl founded 2Win! Global on the simple concept that if we focus on more than best practices and correct our bad practices (as Bob calls them, “Crimes”) then we separate ourselves from the competition. Bob is a thoughtful, practical senior executive with a passion for helping professionals advance their careers and their lives. Click here to learn more about our course VirtualClassroom2.0.